The royal wedding of Prince Harry and Meghan Markle is right around the corner! We’ve got a lot of fun surprises planned here at The Ashton-Drake Galleries, so be sure to check in on our Facebook and Instagram this Saturday, May 19th to join the celebration.
My So Truly Mine® doll, Emma, and I definitely have our royal watching plans in place for this Saturday. We’re going to don our very best outfits, have some tea and crumpets, and follow the goings-on going on from the comfort of our cozy couch.
However, across-the-pond etiquette dictates that women should wear hats to formal events. As this is Emma’s first royal wedding, we needed to ensure she had appropriate headwear, so we decided on a fascinator, which is a light, jaunty looking headpiece, perfect for spring weddings! Follow along below if you’d like to DIY a fascinator for your Ashton-Drake doll!
- Download a template here and use it to trace an oval on some cardstock, light cardboard or construction paper. (I went through the recycling bin and used packaging from a box of instant oatmeal.)
- Take a pair of scissors and make seven cuts where indicated, forming petals.
- Form the base of the fascinator by overlapping the petals and securing with tape.
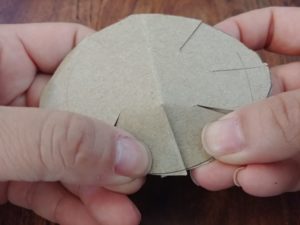
- Not every petal will overlap its neighbor by the same amount. Just keep fiddling with the amount of overlap until you are satisfied with the shape of your fascinator. When you’re done, make sure everything is secured with tape. It should look something like the picture below.
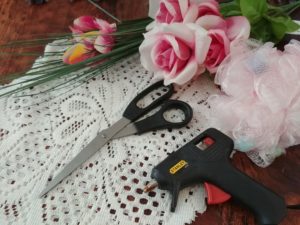
- Now it’s time to decorate! I picked up some faux flowers, doilies and a bath poof from the dollar store. I know you’re probably wondering…”A bath poof?” Trust me. British fascinators aren’t known for being subtle, so definitely feel free to let your creativity flow!
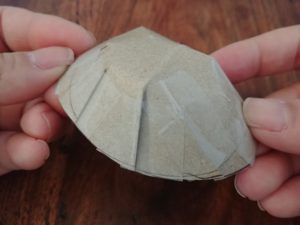
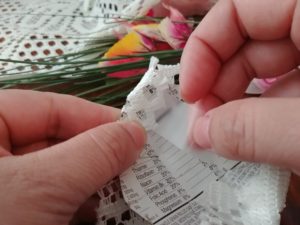
- Cut out a piece of doily about a half inch larger than the circumference of your fascinator. Wrap your fascinator in it, using tape to secure the edges under the form.
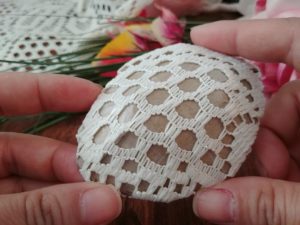
- When you’re done, it’ll look something like this:
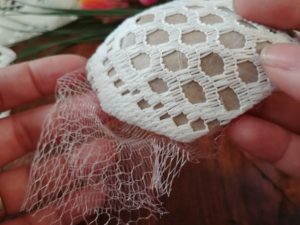
- Now for the bath poof! Every fascinator needs a veil, right? Cut off a piece of the poof, and attach it to your fascinator using tape. To make sure I had the correct placement, I styled the veil while Emma wore the fascinator. Traditionally, fascinators are worn on the right.
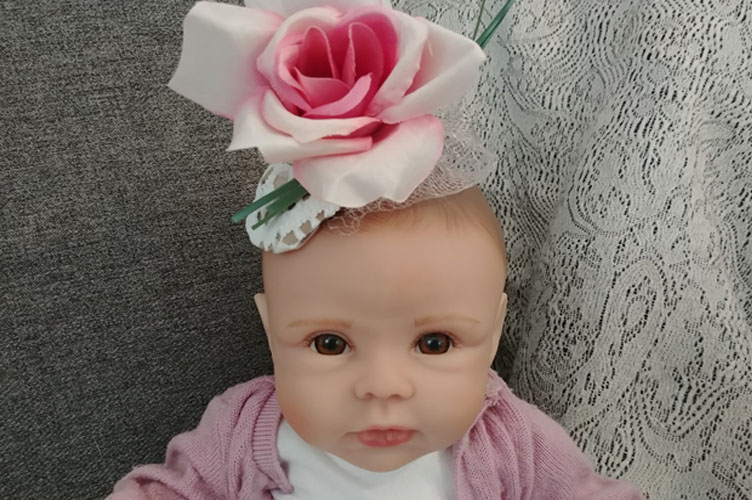
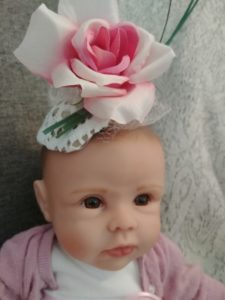
- All that’s left to do now is attach some foliage using a hot glue gun! I chose a pink rose, because roses are regal, and added some green spikes because height is on trend. Let that glue set, and we’re ready for tea! Emma was able to wear her fascinator just as is, but depending on your doll, you may want to add hair clips or a headband to the underside of the fascinator for a better fit.
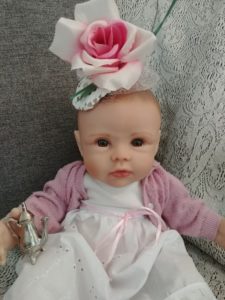
- Emma loves her new headwear. Are you going to try this? It would be so fun to have matching fascinators! I may have to make one for myself before the wedding.
 We’d love to see what you’re doing to celebrate the Royal wedding! Share your pictures with us on social media using #ashtondrake, or drop me an email!